ShopDreamUp AI ArtDreamUp

Deviation Actions
Daily Deviation
Daily Deviation
September 13, 2008
joannastar said that she got pleasing results that she wouldn't have known how to get otherwise after using Quick Tutorial: vintage style by `love4art
Featured by UnicornReality
Suggested by joannastar


Description
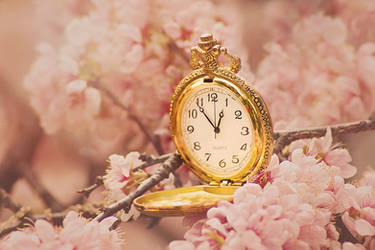
So many people have asked me for some tips on creating a classy vintage-styled photograph. I've put together a small tutorial on the main tips, but there are MANY more. I'll touch on these now, as I couldn't fit them in the tutorial above.
If anyone is stuck with photoshop and needs help, I'm always answering every note I get, so feel free to note or comment.
+Package Vintage Grunge by Resurgere
+Free Photoshop Brushes
+Vintage effect tutorial
+Vintage Brushes by Purple-Quartz-Brush
+Vintage Photo Effect
EDIT: ...WOW! My first ever DD! This is such a huge surprise and honour, as this tutorial was my first one to make and all my effort in it has been rewarded for it- so thank you SO much, `joannastar for suggesting, and `Hanratty-Stock for featuring:.
Image size
400x1600px 558.26 KB
© 2008 - 2024 Whimsical-Dreams
Comments209
Join the community to add your comment. Already a deviant? Log In
Thanks for providing this awesome tut! 
